Five Steps To Save
Thousands Of Dollars
On Your Solar Installation
Install the same (or better) solar panels, inverters, equipment and hardware that leading solar installation companies are using in homes across the US.
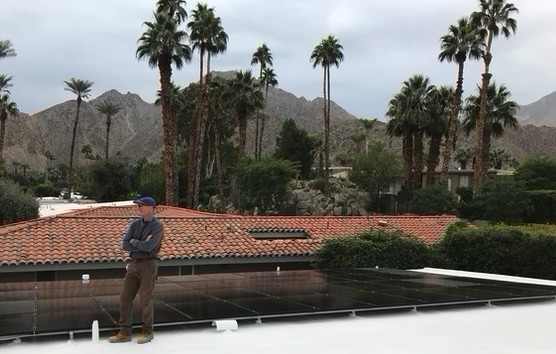
I just finished my solar install yesterday morning with my wife Julie’s help. Thank you all for the help in getting us to this point with both of our PV systems procured through your capable company!
Jim Pearson
Indian Wells, CA
1. Choose The Solar Panels
Choose a solar panel that suits your project and budget. Measure your roof and determine how many panels you can fit in the south, east, and west-facing roof sections. Alternatively, go to step 2 and select the new “Image Based” design tool once in the project section.
Competitive Panel Brands
To Build Your Solar System
We have partnered with many vendors and manufacturers across the US to build an incredible portfolio of solar panel manufacturers.
In this section, you can see the solar panels we offer with our systems. Let us know if you are looking for a specific brand or model, and we will do our best to locate them for you.
Pro Tips
– 380W-420W solar panels are the most suitable for the majority of rooftop installations. Large panels 480W and above are too big and heavy, limiting the layout and complicating the installation.
– We recommend PV-Watts Calculator to estimate your energy production.



Don’t Know Where To Start?
System sizing, equipment selection, and roof layout are common roadblocks at the beginning of the journey to energy independence. Don’t let them deter you from going solar on your terms. Get in touch with us, and we will be happy to point you in the right direction.
2. Design Mounting System
IronRidge is our preferred racking system; they offer fully engineered rooftop and ground-mounted systems that do not require additional stamps for permitting. All their hardware is bonded, eliminating the need for a grounding conductor across the PV array. The simplicity of IronRidge’s racking makes it ideal for first-time installers.
Visit IronRidge Design Tool to start building your racking system. At the end of the design, you will have an engineering report and a bill of materials that you will use for your building permit and ordering your system.
Pro Tips
– Groups (or arrays) of less than three panels are not cost-effective.
– Be aware of setbacks for roof-mounted PV systems, more information here.
– In the design tool, select XR-100 rails for rooftop installations and the XR-1000 rails for ground mounted systems.
– If aesthetics are a concern, consider using black hardware and black solar panels.

3. Know Your System Cost
There are a few ways to estimate the cost of the equipment and materials necessary to complete your installation.
a) The equipment cost will be approximately half of what a local installer would quote you for a turn-key installation
b) You could also estimate the cost per Watt (solar panels rated power). Depending of the system and equipment, you are looking at $1.4 to $1.8 per Watt, including solar panels, inverters, PV cables, mounting, disconnects, safety labels, accessories, and delivery.
c) Alternatively, if you have a bill of materials, you can navigate the store and build your shopping list. Complete residential systems qualify for preferred pricing; see step five to maximize your savings.
About The Store
You will pay less than the total in your cart; see step five.
The equipment in our online store complies with all NEC requirements, UL certifications, and local fire codes.
Your equipment expense will qualify for the Investment Tax Credit (ITC), the federal Solar Tax Credit.
We carry the same brands that top solar companies across the US install.
Maximize Savings With
Tigo Hybrid Inverter
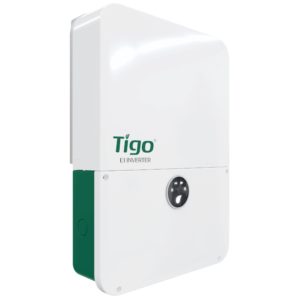
A complete Tigo Energy solution is ~$0.5 /Watt cheaper than a comparable Enphase microinverter system, equivalent to $2,000-$3,000 less for a standard residential system. Both companies are US-based, and both systems offer shade mitigation, panel-level monitoring features, and rapid shutdown compliance.
4. Submit For Permitting
If you are here, you have made significant progress! Now it is time to reach out to a design firm to order the diagrams, plans, and documentation you need to obtain your building permit and utility interconnection agreement.
PV Design Services
Our top choice for getting your permit package is Design4PV. They have a two-day turnaround time and six months of unlimited revisions. Use promo code VOLTAICO5 for a discount.
Engineering stamps are generally not required for residential PV systems. The same firm can provide them if needed; the cost varies per state.

Would you like to talk to one of our experts before submitting for design?
We will get back to you faster than you expect!
5. Order Equipment & Save
Here is where you will see the result of your work. You will save thousands of dollars on top of being very familiar with your project, knowing the system components, and understanding everything needed for a successful installation. Please email us your system design at solar@voltaico.com. We will confirm equipment availability and provide a quote for the complete system. You could have the equipment in your driveway in one week.
We Promise You That:
– We support all our customers during and after the installation.
– We work with manufacturers with physical offices in the US; all warranty and escalated support requests are processed domestically.
– Our systems qualify for the Federal Tax Credit (ITC).
– We facilitate easy ordering and competitive prices.
– You will receive friendly and clear communication from beginning to end.
– We will make the ordering process quick and straightforward for you.
Happy Customers
Read over one hundred testimonials from happy customers.
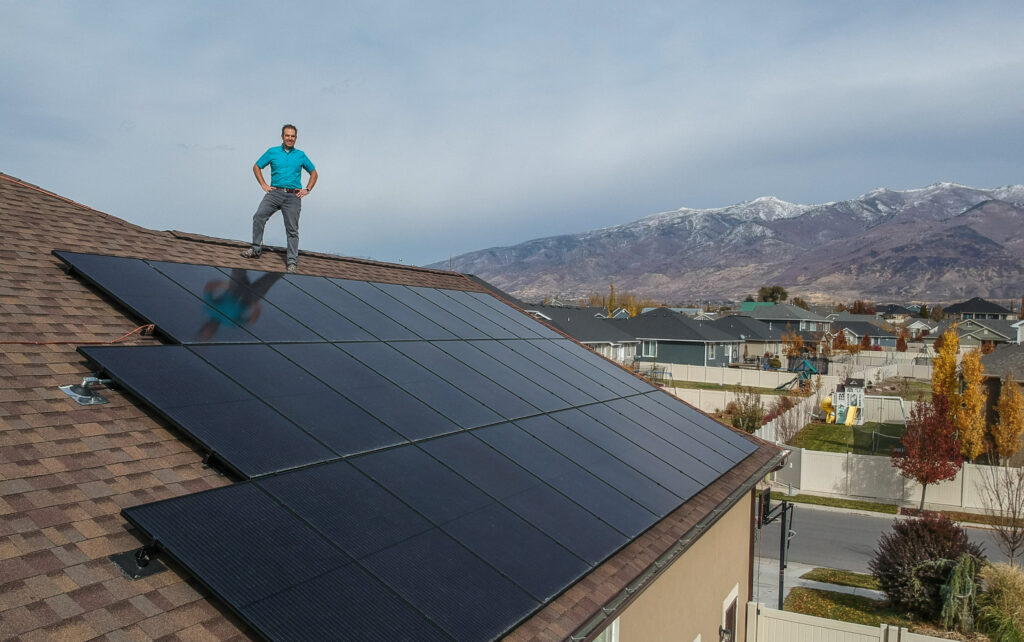
I have finished my install.
Thanks Voltaico for all the help on this project!
9.8kW Solar Installation & Energy Storage
David Hale
Kaysville, UT
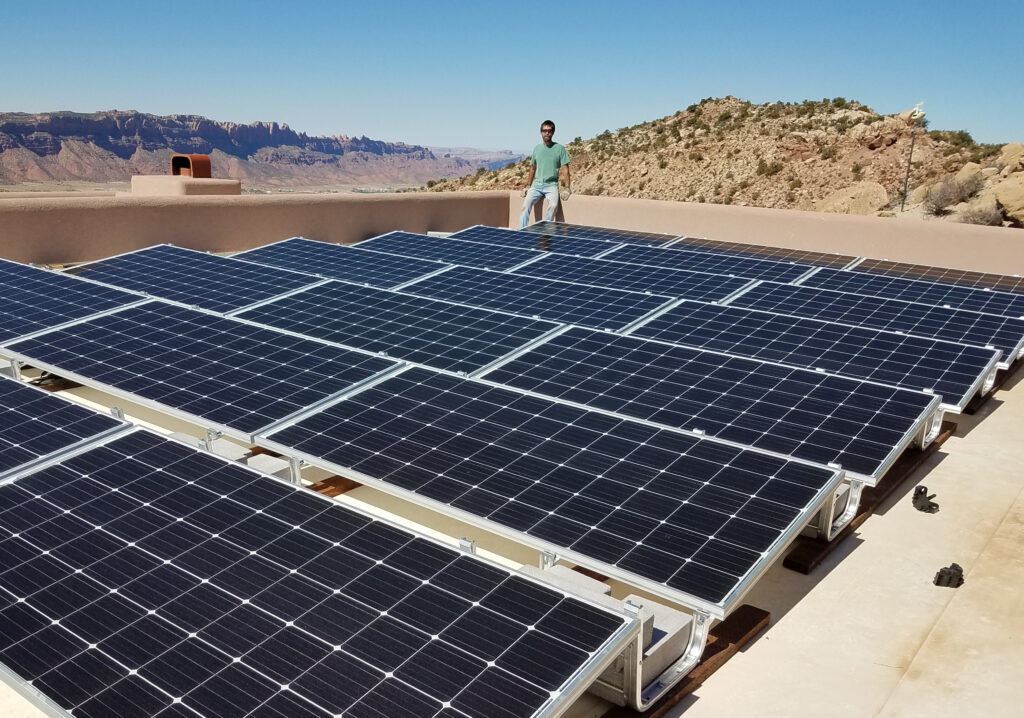
I am talking to a few friends to see if I can convince them to install solar, thanks for your help and support!
7.2kW Homeowner-Installed System
Jim Bryant
Moab, UT